
How to finish and frame a cross-stitch
Washing, pressing and framing a finished cross-stitch: lacing or taping it to board, choosing a frame and mat size, and whether to use glass.
By The Hoop & Paw team · Published · 2 min read
A finished cross-stitch deserves a frame that lets it shine. Finishing takes an evening, and most of it is simple.
1. Wash
Handling leaves oils and hoop marks. Wash the piece in lukewarm water with a little mild soap, swishing gently — don't rub. Rinse until the water runs clear. If a color bleeds, keep rinsing in cool water until it stops.
2. Dry and press
Roll it in a clean towel to remove water. While it's still damp, lay it face down on a thick, soft towel and press with a warm iron (no steam needed). The towel lets the stitches sink in instead of being flattened.
3. Mount it
- Lacing (traditional): stretch the fabric over acid-free foam board or mount board and lace the edges together across the back with strong thread. It keeps the piece taut for decades.
- Taping or pinning: quicker — wrap the fabric around foam board and secure it with acid-free tape or pins pushed into the board's edge.
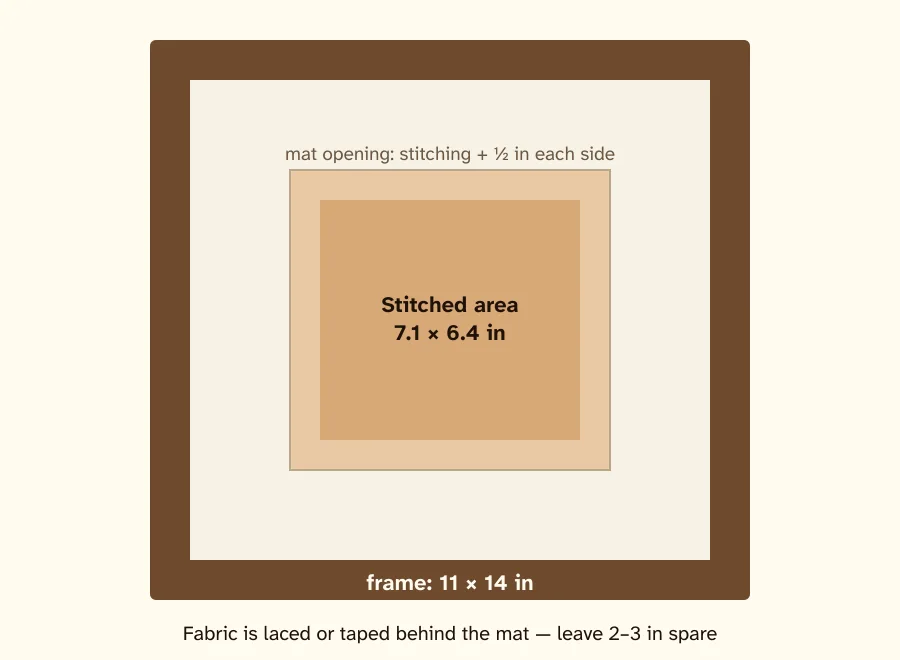
Leave 2–3 inches of spare fabric around the stitching for this — see how much fabric to cut.
4. Choose the frame and mat
- The mat opening should be the stitched area plus about half an inch on each side.
- The frame size is the mat's outer size. A 7-inch design with a 2-inch mat fits an 11 × 14 inch frame.
- Use our size calculator to see which standard frame fits your pattern.
Glass or no glass?
Glass protects from dust but can flatten stitches and trap moisture. If you use it, choose a mat or spacers so the glass doesn't touch the stitching, and UV-filtering glass if the piece will hang in sunlight.
Hoop finishing
For a casual, modern look, finish the piece in its embroidery hoop: trim the fabric to an inch beyond the hoop, run a gathering stitch around the edge, pull it tight at the back and glue felt over the back.